5 Ways to Keep Planning Simple and Fun

journal productivity tips

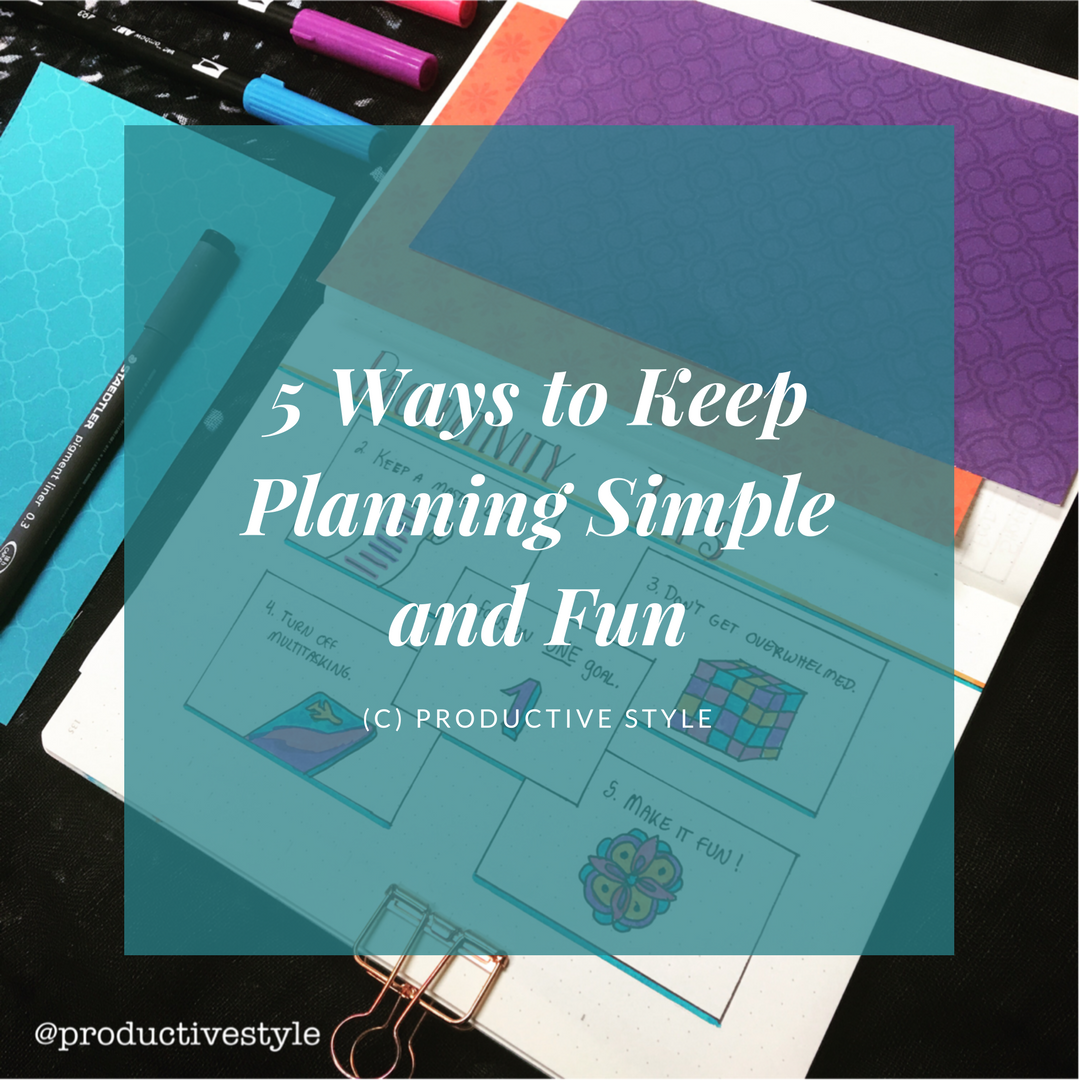
One of the common threads I hear about journaling and planning from those that are just starting out is that planning can become overwhelming.   It’s really easy to scroll through the beautifully drawn spreads across Instagram and Pinterest and become both inspired and frustrated.   Be careful to not let inspiration set a high bar of perfectionism as you plan.   You do NOT have to immediately incorporate every great idea you have into your journal.   You do not always have to make picture-perfect plans.   A minimal spread with a master to-do list and a weekly or monthly calendar page view are just fine for starting out.   Here are a few ideas to help keep planning easy and enjoyable!

1.  Focus on one goal at a time.

When you start planning, you may have lots of goals you’d like to accomplish.  Perhaps you want to masterfully track items for your job, plan a home improvement project, and get healthy.   Take some of the burden off and schedule a planning session with yourself for just ONE of those goals.   Focus on how you can really break it down into action items and book those items to work toward that goal.   Once that one big goal becomes a set of actionable to-dos, you can turn your focus to the next item.   While studies have shown that we may or may not have limited willpower, depending on which you read, I’ve found that focus can really help me get the most done.  If you channel all your focus and willpower into one goal instead of spreading it thinly, you will accomplish so much!

2.  Keep a master list.

My go-to, most-important, and most-used item in my planner by far is my master to-do list.   I work in software engineering and like many teams in that field, my team uses a methodology called Agile Software Engineering.  One of the core tenants there is to keep a list of ALL the potential work items, called a backlog.   That backlog can then be prioritized and tackled in priority order by the team.   In my journal, I keep my own personal backlog/master to-do list.

3.  Don’t get overwhelmed.

If you have a lot on your mind, it can become overwhelming to capture it all.   Let it all go by adding it to your master list.  Once it’s there, you can focus on prioritizing all of your to-dos and tackling those most important tasks first.

If you focus too much on the appearance of your planner, it can become easy to be overwhelmed trying to make everything perfect.   Keep it fun.  Add decoration and style to make it personal and unique and fun.  Do as much or as little as you want!

4.  Turn off multitasking.

This sound crazy… but turn off your phone.  Put it in airplane mode.  Don’t check your email.  Just focus on deciding the top priorities and making plans.   Then wake everything back up and go into action!   You will get more done!

5.  Make it fun!

Planning and journaling can be such an enjoyable creative outlet.   Keep the spark you first felt when you discovered it alive by trying out new tools and techniques on occasion (as you have time to do so).   Make your pages colorful, make them a reflection of your own unique style!


I hope you enjoyed this post!  If you did, let me know in the comments below!   If you would like to see posts on any particular aspects of planning or productivity, comment too and let me know!   Happy planning!
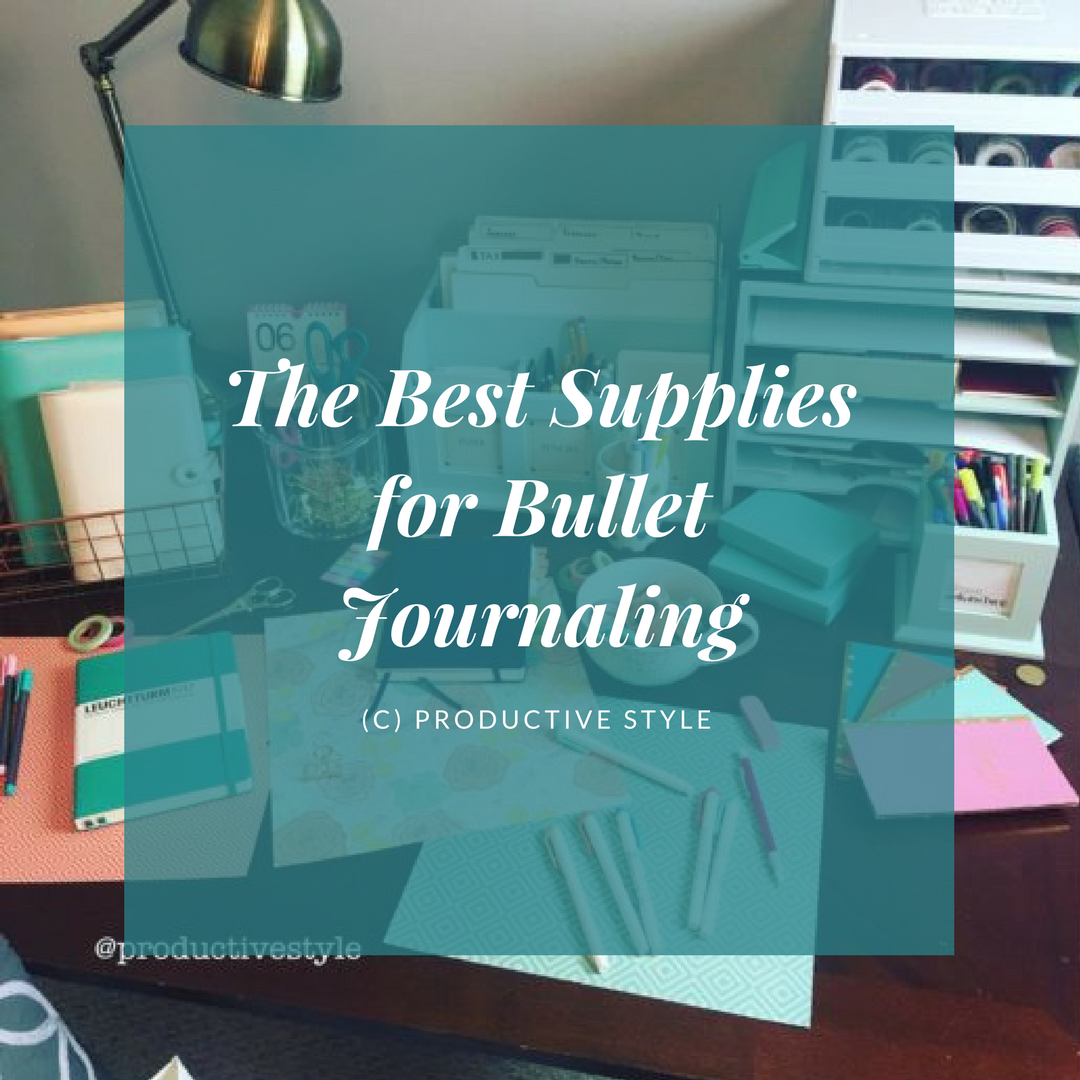
 

Supplies Used:

Tombow Dual Brush Pens – Bright

Copper Binder Clips

Staedtler Pigment Liner Pens

Leuchtturm 1917 A5 Dotted Notebook

         Rifle Paper Company Botanicals Notebook Collection

               Faber Castell PITT Artist Pen

Staedtler Triplus Fineliner Pen


* Note: Some links above are affiliate links. I may receive a small commission if you purchase something through the links here, at no cost to you. These are all products that I use and love, and any purchases made help support my site and newly-found stationary addiction. Thank you so much for your support and don’t hesitate to get in touch if you have questions!

7 Brainstorming Techniques for the Best Journal Ideas Yet

7 techniques for brainstorming

Starting out, I was completely enamored with the world of journaling and planning. There were SO many potential spreads and ideas to incorporate in my journal that it was almost overwhelming. I did a handful of one-time spreads and kept a monthly and weekly calendar in my Leuchtturm notebook. The potential colors and designs were endless (well… only limited by the number of pens I happened to acquire around that time….).   The ideas for lists were almost as endless…  (I captured 102 List Spreads here).

Lately, I’ve shifted a little and am using my journal for long-term planning and goal setting. That takes a whole new set of techniques an spreads. Here I’ll share a few of the ones I’ve found helpful! In this post, I’ll tell you about some tried and true brainstorming techniques to use, and in future posts, I’ll cover more goal-setting ideas that I’ve found to be super helpful!


1. Role Playing

role playing for goals

This one comes up time and again going through school.  I’ve seen various forms come up in college projects, management courses, and even in a software requirements engineering class in grad school.   It’s a simple, but very easy technique to come up with new ideas.

First, you need to come up with a potential set of roles to play.   For example, suppose I’m brainstorming new post ideas for my (currently-very-tiny) blog.   I would think of a list of potential readers.   Maybe my audience has of teachers who would love to see lesson planning spreads, maybe it has students who would like study tips and time management planners.

Next, I would think about new post ideas from their perspective.   During this step, I would make a list or sketch out possible spreads in my journal to capture different needs.   I would ask myself questions like:

  • What challenges does this person face?
  • What does this person spend the most time on?
  • How can I help this person be more efficient?
  • What does this person enjoy most?, etc.

In the end, I would compile all the ideas into action steps and move on to the next potential reader role.


2. Teleporting

Close your eyes… now picture yourself somewhere or at a time you would love to be…    Ok, now, how would you tackle a problem or do things differently if this were your reality?   Sometimes the best ideas come when we are at our happiest or most relaxed.   Changing your perspective and sinking into a new reality can help you see a problem from a different angle and come up with creative new solutions.

To use this with journaling, choose a scenario and work from that perspective.   Suppose I would love to have more time to work on posts here, new videos on YouTube, and new pics for Instagram, but the chaos of a busy job and life are getting in the way (true story here ;)).   When I get a free span of time, I try to remove all the business and teleport to a reality where I have all day to focus on my passion and engage in creative work.   Then I think about if that were the case, what would I work on first and make a running list of all of those items.   After prioritizing the list in my journal, I start tackling the first priority from that teleported reality.   Usually that is the best thing to work on first even in a hectic reality.


3. Fill Gaps

filling gaps in point a and b

Sometimes it is daunting to look at where you are and see how to get to where you want to be.   If getting from step A to step B is a big challenge, it’s time to fill in some interim steps in the middle.   This is very similar to the goal planning exercise I posted about last week and that spread could be very helpful here!

First, identify where you would like to be.   Next start to think about one easy step you could take today to help get there.   Don’t think about the long journey or the big picture.   Start to focus on breaking down the journey.   What gaps do you need to fill?  Do you have skills you need to sharpen?   Do you need equipment (don’t go crazy here!)?   Do you need to network and make new connections?   Make a list in your journal of all of those middle steps to fill in the gaps.   Then prioritize and tackle the first one!   If any seem to big, then repeat the exercise just focusing on that one gap until you have steps that are manageable and don’t cause dread or fear.


4. Mind Mapping

mind mapping in your planner

This is a fun technique that seems to be made for journaling!    To do this, write a word or phrase that you want to brainstorm around in the middle of your journal page.   Next, think of ideas, words, or phrases associated with that and write them on lines out from the center word.   Finally, repeat until you’ve exhausted your ideas or your paper space (you can always pick off one area and make it the center word on your next page!).   Here’s an example I did recently for Productive Style (photo originally posted my Instagram).

mind mapping bullet journal


5. Group Discussion

group discussion for brainstorming

If you want to get a whole new set of ideas, bring together friends, coworkers or family members to have a discussion around it.   Come up with a list of 5-10 questions to ask if conversation get quiet or if everyone gets off track.

To capture group discussion, I typically block off areas of my journal pages for each participant.   Then I will jot down ideas from each person in their designated area.   This shows who is most engaged in conversation (so you can ask questions to quieter members of the discussion) and helps you keep track of where to attribute ideas or ask more questions later on.


6. Freeform Writing

freeform writing for brainstrorming in your bujo

This technique is great if you want lots of ideas and have some quiet time to yourself.   Start by writing a sentence in your journal about where you want to go or what you want to brainstorm around.  Then just start writing EVERYTHING that comes into your mind for a set amount of time.  I’d recommend 10-20 minutes starting out.   After you’re done, you can go back and highlight areas of interest and build out lists of ideas from there.


7. Identifying Roadblocks

being positive about risks and roadblocks

This is one of my favorite techniques.   As a project planner both at work and home, I am always thinking about risks and problems that I might run into.   Taking this mindset and applying it to project planning is a great way to AVOID those risks.   There are blog posts full of great ideas here (perhaps coming soon!), but here we’ll focus on the most simple method.   Take a journal page and divide it vertically in half with a line.   On the left side, one per line, write down a list of risks, roadblocks, reasons why you can’t or don’t want to work toward a goal.

Next, on the right side, across from each risk or roadblock, write down why you should do it anyway, or how you can either prevent or address that risk.   You’ll be surprised how much this second step helps eliminate those worries and risks!  It helps turn pessimism into a positive action!


These techniques are ones I use often.  For more brainstorming ideas (including a different perspective on a few of these), also check out this awesome Inc article found here.


Supplies Used:

Leuchtturm1917 A5 Dot Grid Hardcover in Emerald: http://amzn.to/2vgFPof

Faber Castell Pitt Artist Pens http://amzn.to/2fGOjzK

Tombow Dual Brush Pens – Bright http://amzn.to/2fG9hi4

Ruler http://amzn.to/2wbcn4u

Binder Clips http://amzn.to/2vb8BU4

Pencil Pouch (similar: http://amzn.to/2fUAldU)

Note:  This post contains affiliate links.  I may receive a small commission if you purchase something through the links here, at no cost to you. These are all products that I use and love, and any purchases made help support this site and my newly found stationary addiction.  😉  Thank you so much for your support and don’t hesitate to get in touch if you have questions!

The Best Supplies for Bullet Journaling

Getting Started

To get started with bullet journaling, all you need is a notebook and pen.   The best thing to look for in a notebook is one with thick pages, so the ink does not bleed through.   There are four basic types of paper layouts to choose from – blank, lined, grid and dot grid.    While I started with a planner and grid-lined paper, I’ve since moved on to dot grid and love it.    The dots help keep me organized and lines straight, but are light enough that they are not overpowering or obtrusive.


Notebooks

My all-time favorite notebook is the A5 (Medium) Leuchtuurm Dot Grid Hardcover.   The hard cover design lets you plan on the go without a lap desk or table, and the size is just perfect for capturing weekly planner layouts and lists.   It’s small enough to be portable, but large enough to capture what’s needed.    As a bonus, it comes in SO MANY BEAUTIFUL COLORS!
A few runners up are Moleskine notebooks, Rhodia notebooks, and the ultra-cute Scribble that Matter series.  I would recommend trying them out, especially if you’re lucky enough to have a stationary or bookstore in your area that carry a variety of notebooks.  I’ve found the best deals on these at Amazon, but I hear they’re starting to pop up in retail locations of Barnes and Noble too.


Pens

Starting out, my first try with bullet journaling started with sharpie fine point pens.   I quickly learned that these can easily bleed through even very thick paper.   I found my very favorite pens in Staedtler Triplus Fineliners.   These come in lots of sizes and I would highly recommend starting out with one of the sets with an easel case.  They are great for portability.   I started out with the 24 pack and found it was perfect for doing layouts and doodles in my bujo.   I’ve since upgraded to the 36 pack to get more colors, but have had to also pick up a pencil case to store them (the cardboard box is not nearly as durable as the plastic case the smaller sets come in.   As a bonus, these do NOT dry out when left uncapped for brief periods of time and seem to have lots of ink.   I’ve burned through two pens over the past year of bullet journaling (purple and black), but it turns out both of these are available in a small set and the black can be found separately as well.   There are lots of other recommendations on pens that I’ll plan to cover in future posts!


Highlighters

As I’ve done more and more with my bullet journal, I’ve also explored other popular pens and markers.   If you’re looking for more color or softer colors than you’ll find with the fineliners, you may want to consider getting a set of the Zebra Midliner Highlighters.   There are three different color sets, each with five pens.  These are great because they have two tip sizes – a traditional chiseled highlighter point and a thinner marker point for drawing lines.   I found a pack with all three color sets on Amazon and have definitely not regretted picking these up.

Markers

While exploring other pens and ways to add color, I also picked up a pack of Staedtler Dual Tip Markers.   I’d originally hoped that these would be in the same colors as the 36 pack of Staedtler Triplus Fineliners (so I could outline with the fineliners and fill areas with the markers) but was disappointed to see that the colors did not quite match up.  They were, however, a gorgeous colorful addition to my bullet journaling repertoire.  They are great for adding color to pages and filling in larger areas.   The dual tips do match up, so you can outline with the thing tip and fill with the larger tip.


Brush Markers

If you’re looking for professional-grade markers for brush lettering, the community seems to agree that Tombow Dual Brush Pens are the way to go.  I’ve just picked up my first pack of these and I’ll post more updates as I play around with them.   For now, I can say they are gorgeous and fun to blend (blender included).   I started out with the bright set and found the best deal here.   These come in a variety of color sets and all look gorgeous.   Here are some of the options I’ve seen:

Bright

Primary

Secondary

Landscape

Portrait

Muted

Grayscale


Other Supplies

Once you are set up to write in your bullet journal, you’ll find lots of other accessories are fun additions.  I’ll cover these more in future posts, but here are a few that I have gotten questions about in Instagram posts.  🙂


Helix Circle and Angle Maker – This one is a new addition to my supply arsenal, but is now part of my daily carry.   The middle section spins so you can easily make circles with a variety of pens.

Eiffel Tower Scissors – These are not ultra-sharp, but are so cute and affordable, who could resist?!?

Metallic Washi – This adds a touch of glam to your pages and helps you get perfect straight borders.   Plus, this washi is opaque and can help cover mistakes!


Uniball Gold Metallic Pen – This writes like a smooth gel pen, but the ink is a gorgeous metallic gold color.   Great for writing over darker areas of your journal or planner.


Note:  This post contains affiliate links.  I may receive a small commission if you purchase something through the links here, at no cost to you. These are all products that I use and love, and any purchases made help support this site and my newly found stationary addiction.  😉  Thank you so much for your support and don’t hesitate to get in touch if you have questions!