Gansai vs. Gouache vs. Watercolor

This month I’ve been working on a lot more watercolor designs to use in bullet journals, and have also been experimenting with Gansai paints versus traditional watercolors. I thought it might be helpful to share some differences between types of watercolor paint to help you get started if you want to paint along with me!

There are three types of watercolor paints I’ll be talking about today: 1) traditional Western watercolor, 2) Gouache, and 3) Gansai.

Western Watercolor

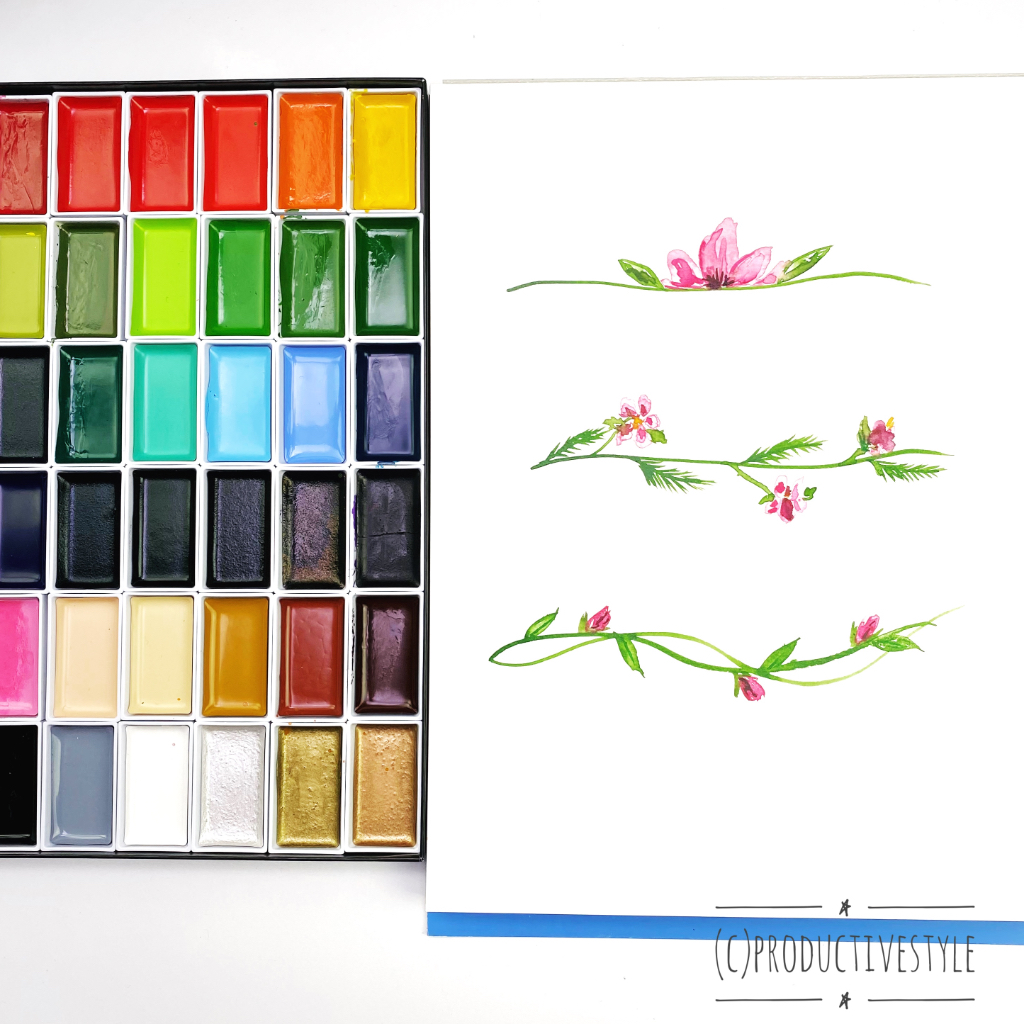
Western watercolor paints are the dry cake form watercolors that you may have played with when you were younger. They come in a variety of quality levels and each has a different depth of color. These use a gum arabic base and blend well with each other. Typically watercolors are used in layers, and you can achieve more rich shades by layering wet paint over dry. Here are some sets you may want to try if you want to get started with traditional watercolor:

Starter Set:

High Quality Set:

Gouache

Gouache is a thicker variety of watercolor and comes in tubes rather than cakes. It can be used with less water to achieve more opaque coloring or can be watered down to use as a more translucent finish on your paper. Gouache also dries much more quickly than Western watercolor, which means that layering can happen faster, but mistakes are more quickly made permanent.

Here’s a great starter set:

and a higher-quality set:

Gansai

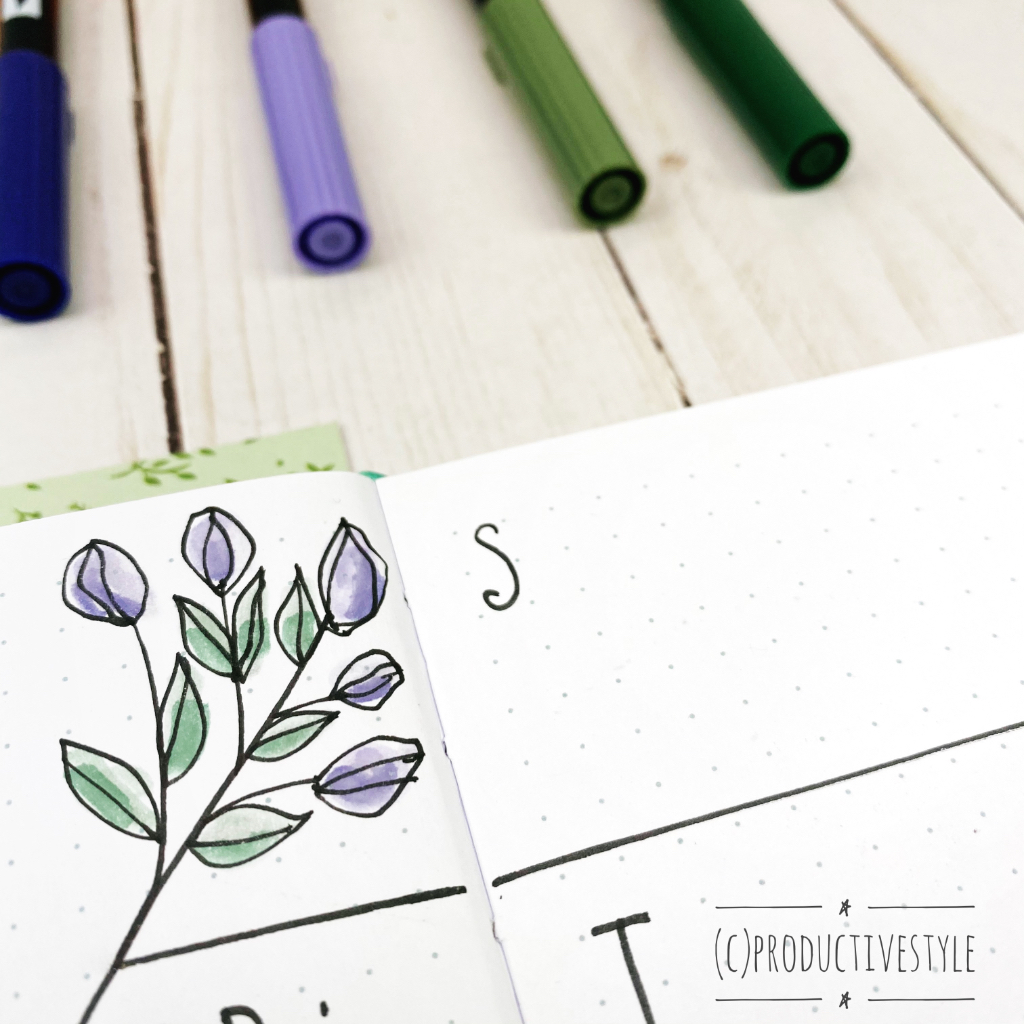
Gansai, a traditional Japanese watercolor, uses a variety of different bases, that can make it have a thicker, gummier appearance than traditional watercolors. It applies and is used similarly, with drying time falling somewhere between traditional watercolor and gouache. Gansai colors for the most part are blendable, but sometimes do not blend as seamlessly as Western watercolor. Often the final product of a gansai painting will appear more glossy than other forms of watercolor. Here’s the set I’ve been using lately:

There is also a smaller, less pricy set you may want to look into if you’re getting started:

Brushes

Watercolor artists can use a variety of brushes. Camel or sable hair brushes are considered traditional for watercolor, but I also like using gold taklon or synthetic brushes. These give a clean edge and work well for blending. Here are a couple starter sets of brushes I’d recommend if you’re looking to build a brush collection.

Detail Brushes

Round Brushes

Mixed Type Starter Brush Set

Paper

For watercolor painting, I’d recommend at least a 140 GSM paper weight. Here is the type I’ve been using lately. Below I’ve also linked a higher-quality version that is pricier, but better to use if you’re creating fine art prints.

Practice Paper

High Quality Paper


Other Supplies

If you’re working a lot in watercolor, you may also find it useful to leave parts of your paper blank. To do this, you can use a masking fluid. Just paint the masking fluid on first and allow it to dry.

I hope this post helps if you’re wanting to get started with watercolor painting! It is such a fun hobby. If you have other questions, leave a comment and I’ll do my best to help out. If you’re looking for a way to learn easy watercolor techniques, I’ll also be covering watercolor techniques in a few upcoming YouTube Videos, so if you’re getting started, be sure to subscribe so you don’t miss a video!

P.S.  Please note that this page has affiliate links.   At no cost to you, a small portion of any products you purchase from these links will help support this page.   Thank you so much!

Video: How to Draw 4 Easy Flowers

Hi, in the video below, you’ll see how to draw each of the 4 flowers, I’ll be using in February bullet journal spreads! I usually do pink and red spreads for February to celebrate Valentine’s Day, but this year I decided to go with something a bit different. Purple is one of my favorite colors and I’ve been working on practicing lots of flower doodles so I decided to try a pale purple planning theme this February. I’ll also be using a Sakura Gelly Roller pen to add metallic accents.

The spreads are going to be easy to do and more info is coming soon! If you want to learn more about planning together in February, check out my last post on materials needed. I hope you follow along and plan with me in February!

To catch new updates and see the latest videos on bullet journaling, doodling, and creative projects, follow ProductiveStyle on YouTube!

P.S.  Please note that this page has affiliate links.   At no cost to you, a small portion of any products you purchase from these links will help support this page.   Thank you so much!

P.P.S.  If you like flower doodles, you may want to check out this book.

Everything You Need for Metallic Violet Floral Bullet Journal Spreads

Welcome! This month I’m so excited to share a sneak peak and lots more how-tos on a fun and easy metallic violet theme. This theme has easy-to-doodle flowers, combined in lots of spread styles, with copper metallic accents to liven up the pages! It’s a bit reminiscent of wedding or bridal shower invitations and just the perfect amount of romantic for a month containing Valentine’s Day. 🙂

To get started, let’s look at supplies. This month, I tried to keep things simple. I used 4 colors of Tombow Dual Brush Pens plus a colorless blender pen. The exact set of colors I used were:

228 – Gray Green

249 – Hunter Green

603 – Periwinkle

569 – Jet Blue

N00 – Colorless Blender

If you don’t have the full set of pens, and are looking to start a collection, the Secondary Color Pack has a light and dark green and purple that would work really well with this month’s them. It also includes a blender pen.

Next, I used pens that are waterproof. My favorite of this type are Staedtler Pigment Liner Pens. I used the 0.5 and 0.2 sizes most often for these spreads.

For metallic accents, I’m using a Sakura Gelly Roll Pen in metallic copper. This one can be found in a set of three metallics or 10 fun metallic colors. I love the way these can add sparkle. Word of warning though, as you’re using these, give the page a few seconds to dry before touching or turning pages, the ink goes on thick and can smudge if not completely dry!

For my bullet journal this month, I’m using an Archer & Olive A5 dot grid notebook, but any quality dot grid notebook will work!

For other supplies, I used a basic ruler. My favorite is a simple clear one, so you can see underneath, but here are a few cute ones if you’re in the market!

I also used a Helix Circle and Angle Maker to make neater-than-I-can-freehand circles on various spreads.

That’s it! That’s the full set of supplies used to create a month’s worth of metallic floral bujo spreads in pretty lilac and deep purple tones!

I hope you’ll join along this month so we can create fun spreads together.

Next up, check out my video on YouTube on how to draw each of the flowers you’ll need this month!

P.S.  Please note that this page has affiliate links.   At no cost to you, a small portion of any products you purchase from these links will help support this page.   Thank you so much!

P.P.S.  If you like flower doodles, you may want to check out this book.